C:\>_BrickDOS v1.0
24.05.1993 14:25

LEGO / ORIGINAL MODEL

01

Pantasy 85005

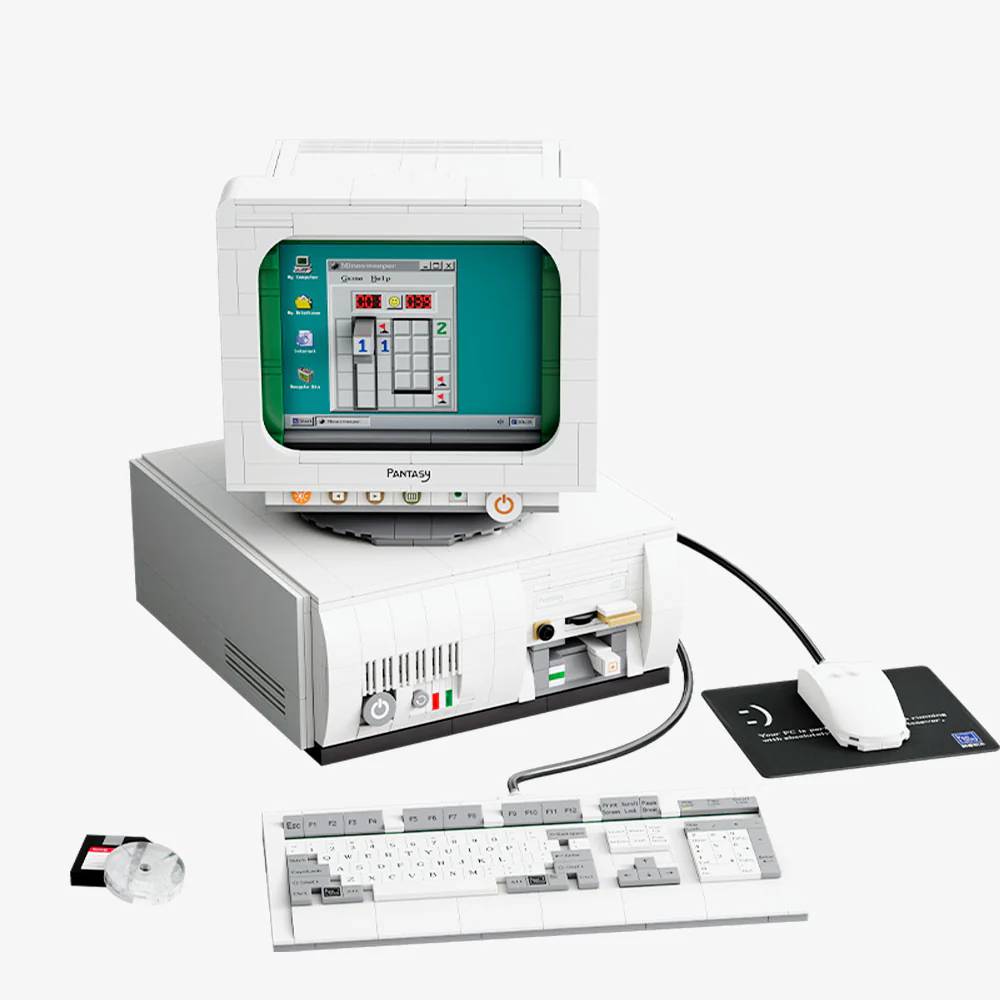
The heart of BrickDOS: Pantasy 85005—an impressively detailed 1990s PC made from 1,634 bricks.

The Pantasy set recreates a complete classic desktop PC with computer, CRT monitor, keyboard and mouse. It goes far beyond a simple exterior shell: the case can be opened to reveal a detailed interior with a motherboard, graphics card, CPU cooler and other components.

The model also includes plenty of playful details outside the case: floppy disks and CDs, an opening CD drive, rotating fans and interchangeable monitor images – including, of course, a fitting Minesweeper screen.

This combination of retro styling and surprisingly detailed construction made the set the ideal foundation for BrickDOS. The original model was meant to remain as recognisable as possible – except that behind the façade there would eventually be a fully functional computer.

PANTASY.COM > RETRO 90S PC 85005 ↗
Pantasy 85005 in its original condition before the BrickDOS conversion

PHOTO: Pantasy 85005 in its original condition

Pieces: 1634 Dimensions: 18.9 × 20 × 24 cm Build time: 5–6 h Set No.: 85005
01 / 04
02

MODIFICATIONS

From model to hardware.

02A

Speakers

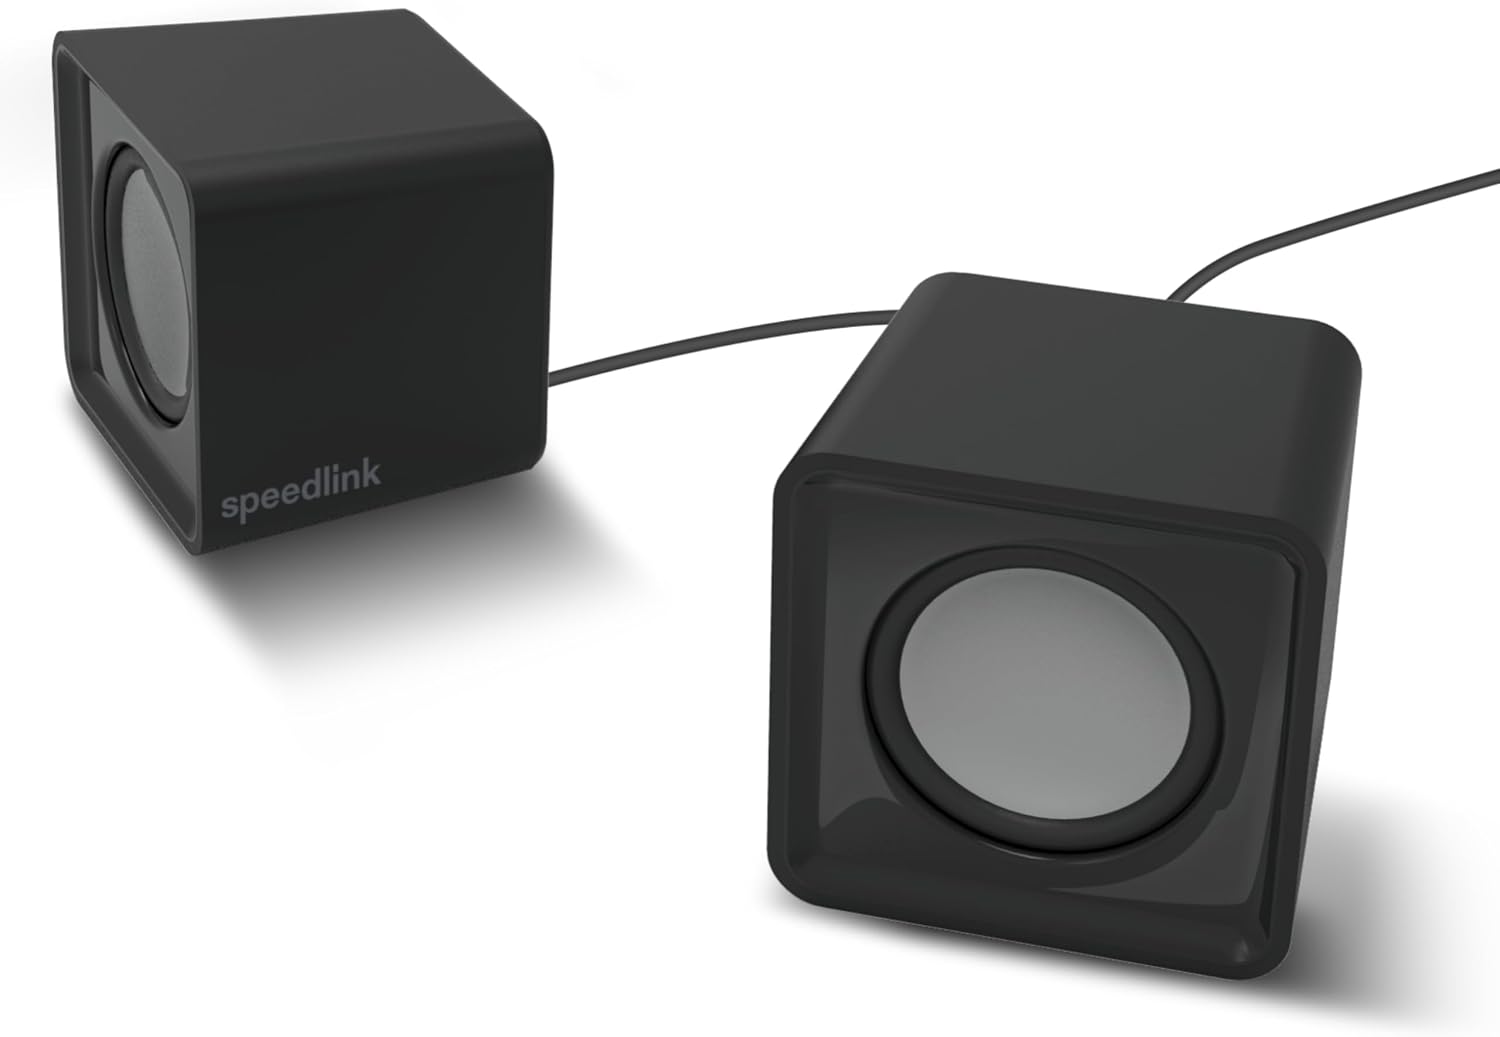
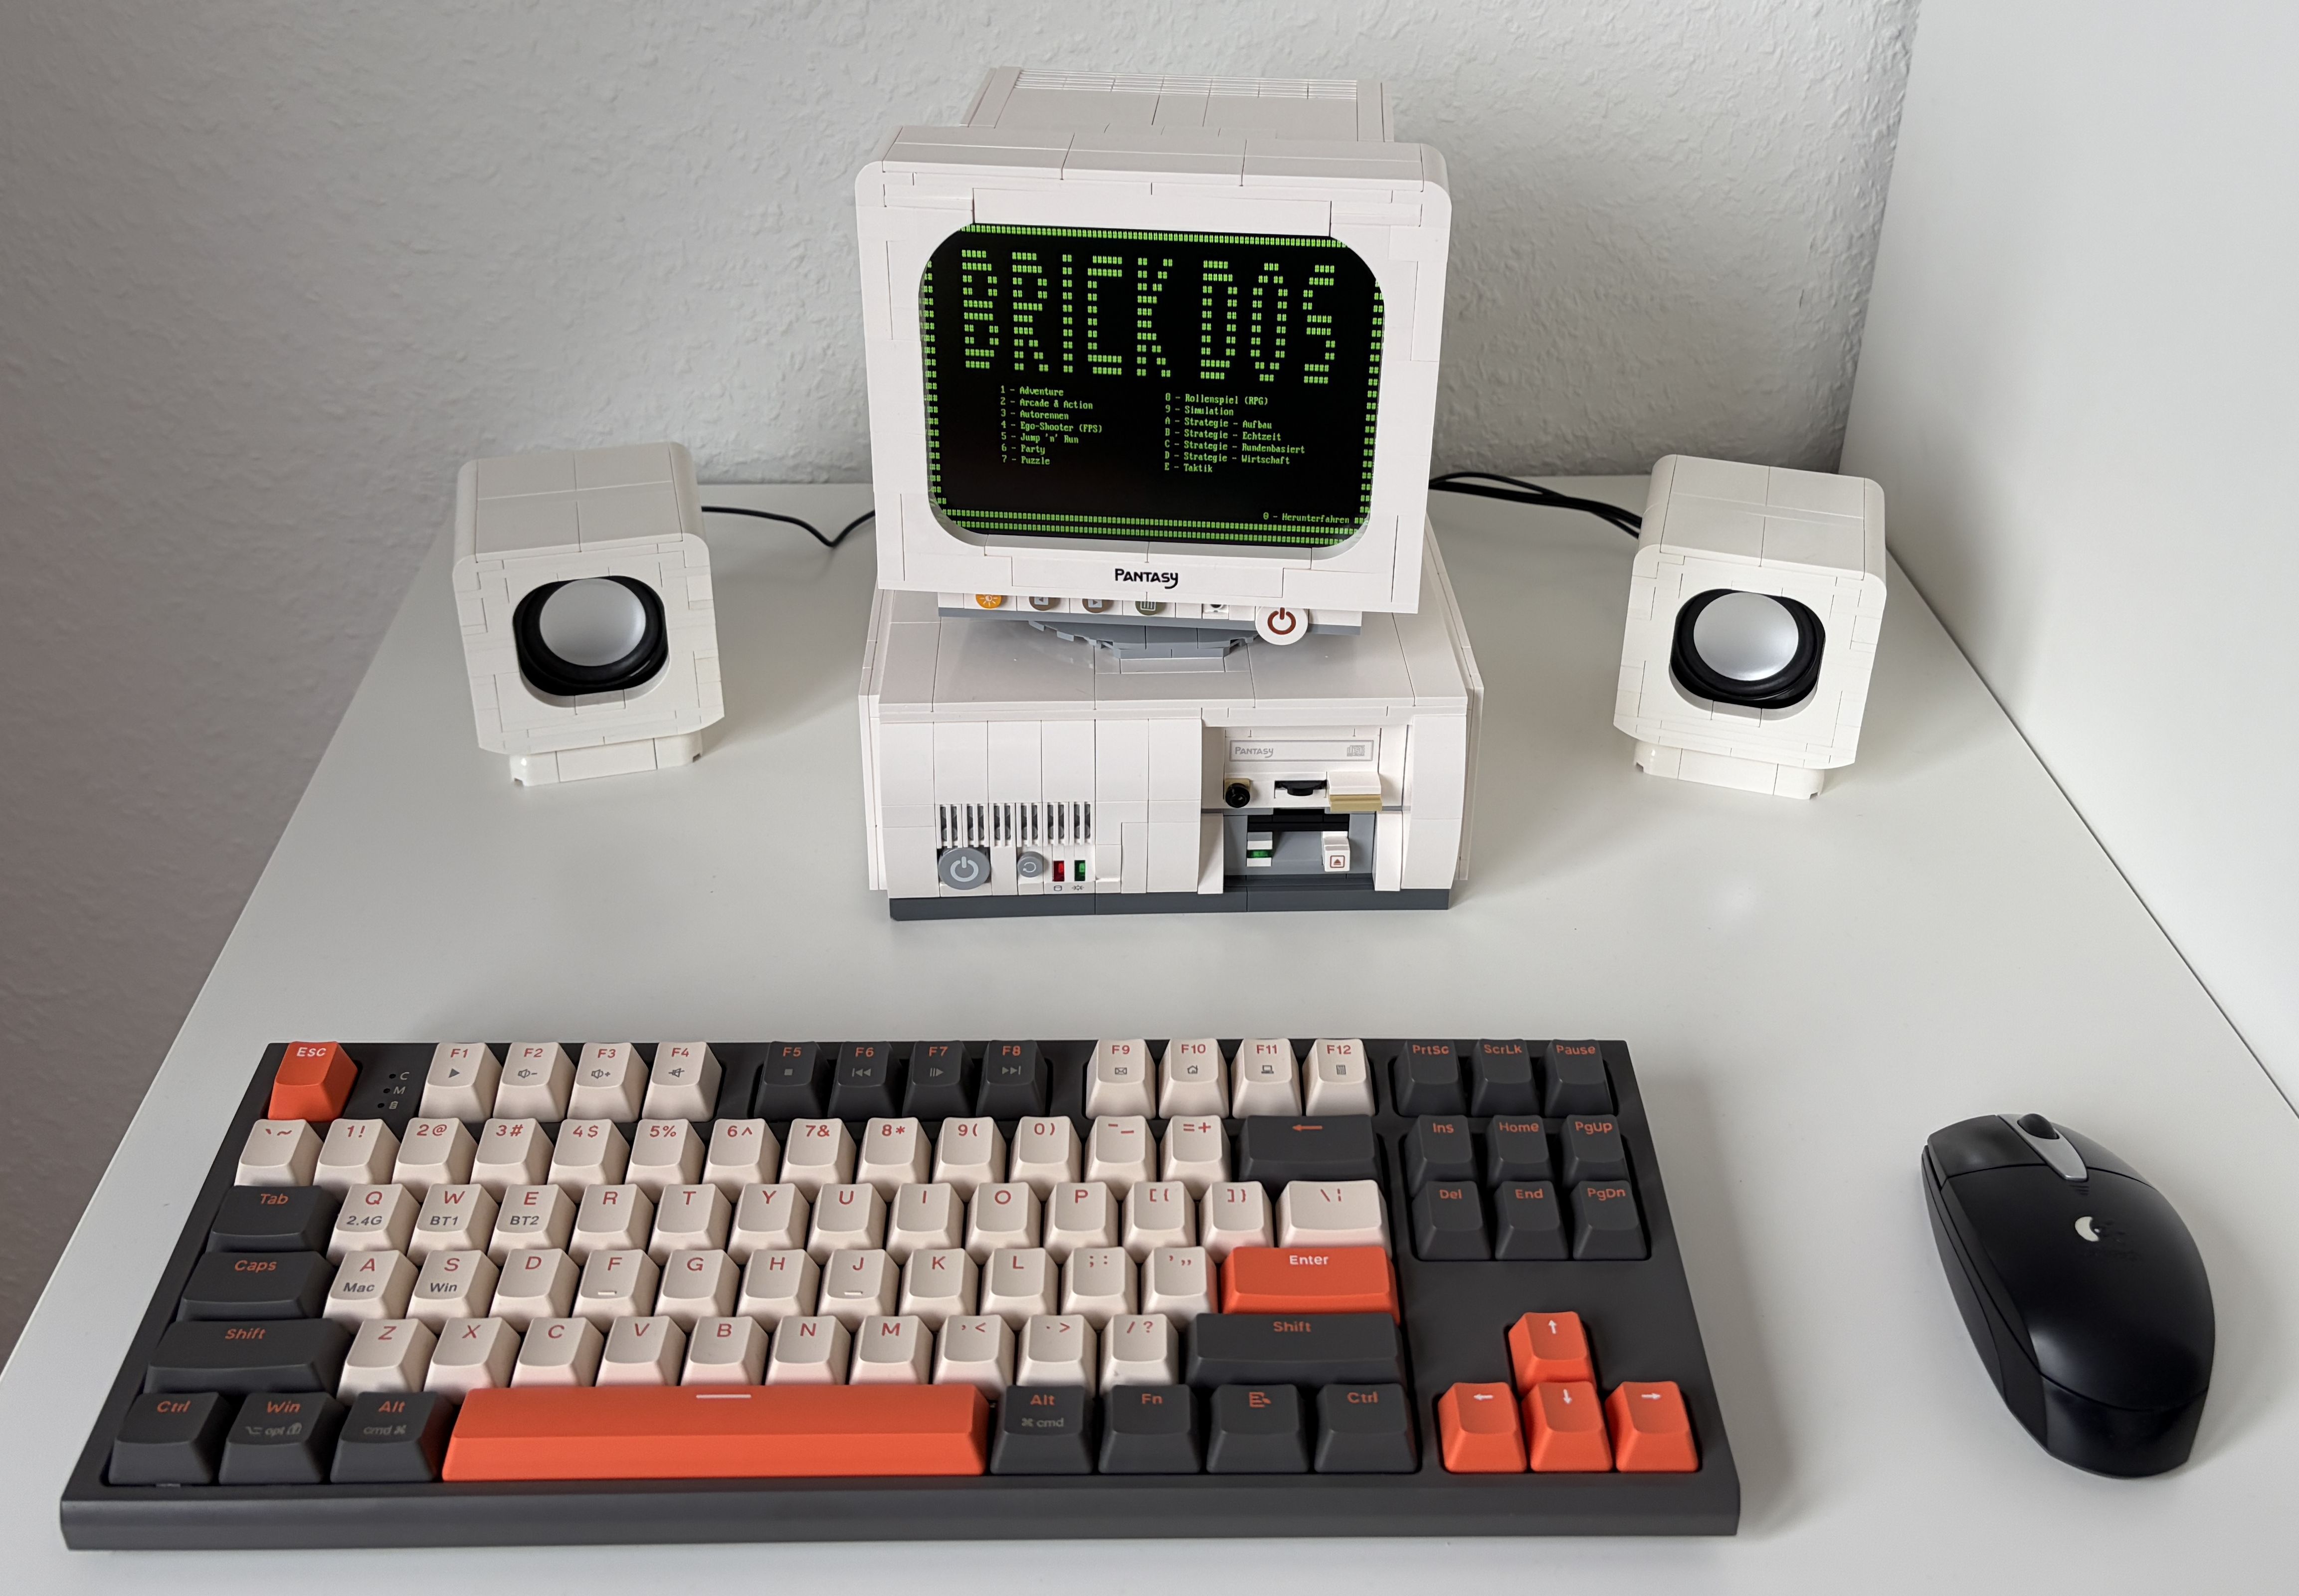
One detail became apparent surprisingly late in development: the original Pantasy model has no speakers. As soon as the first games were launched, it became clear that BrickDOS had video, but no sound.

As a pragmatic solution, two small USB-powered speakers were added. That immediately raised the next question: how could they be integrated in a way that visually matched the rest of the build?

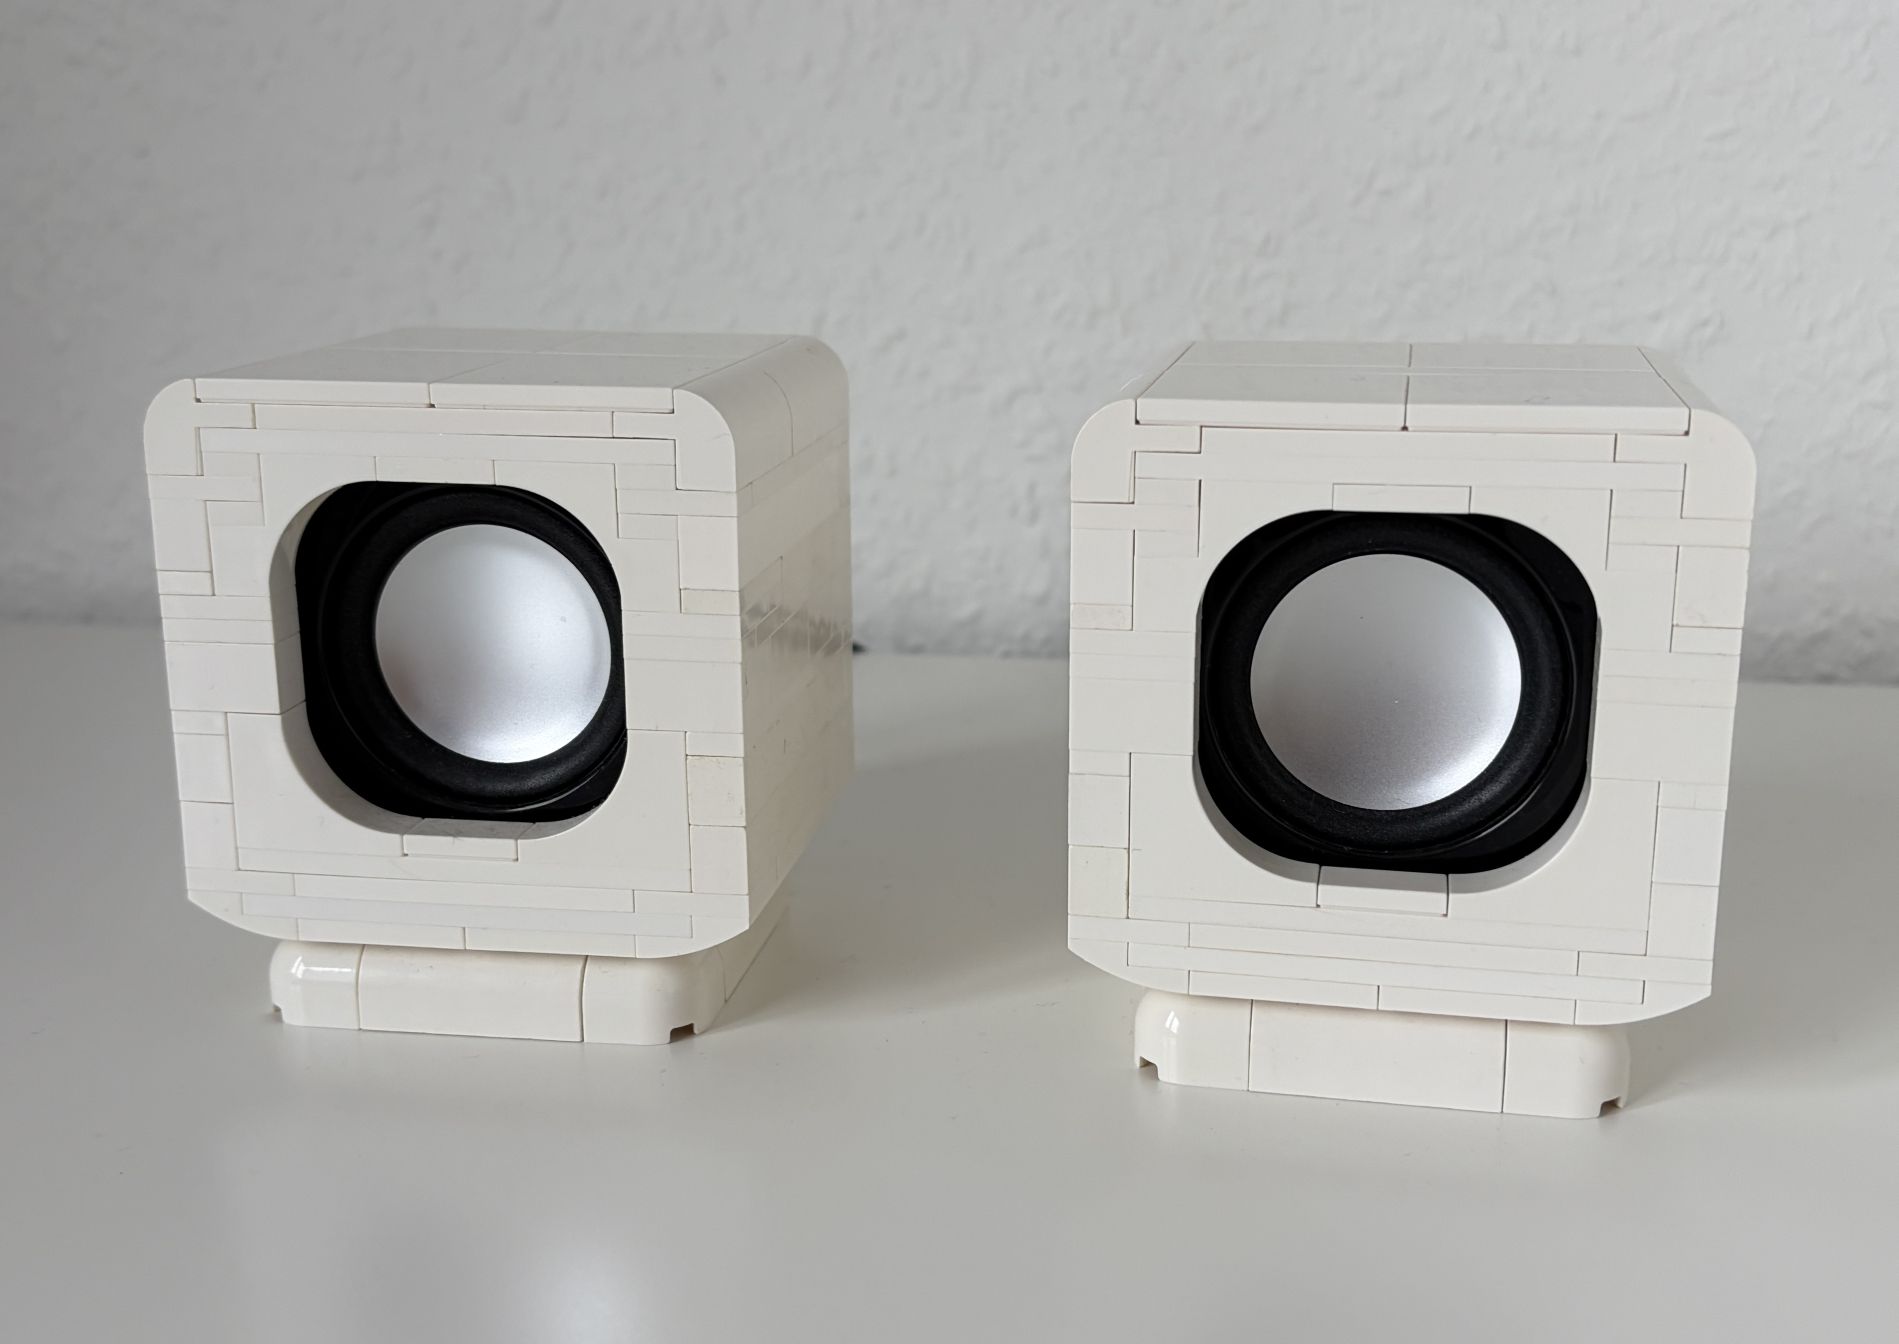
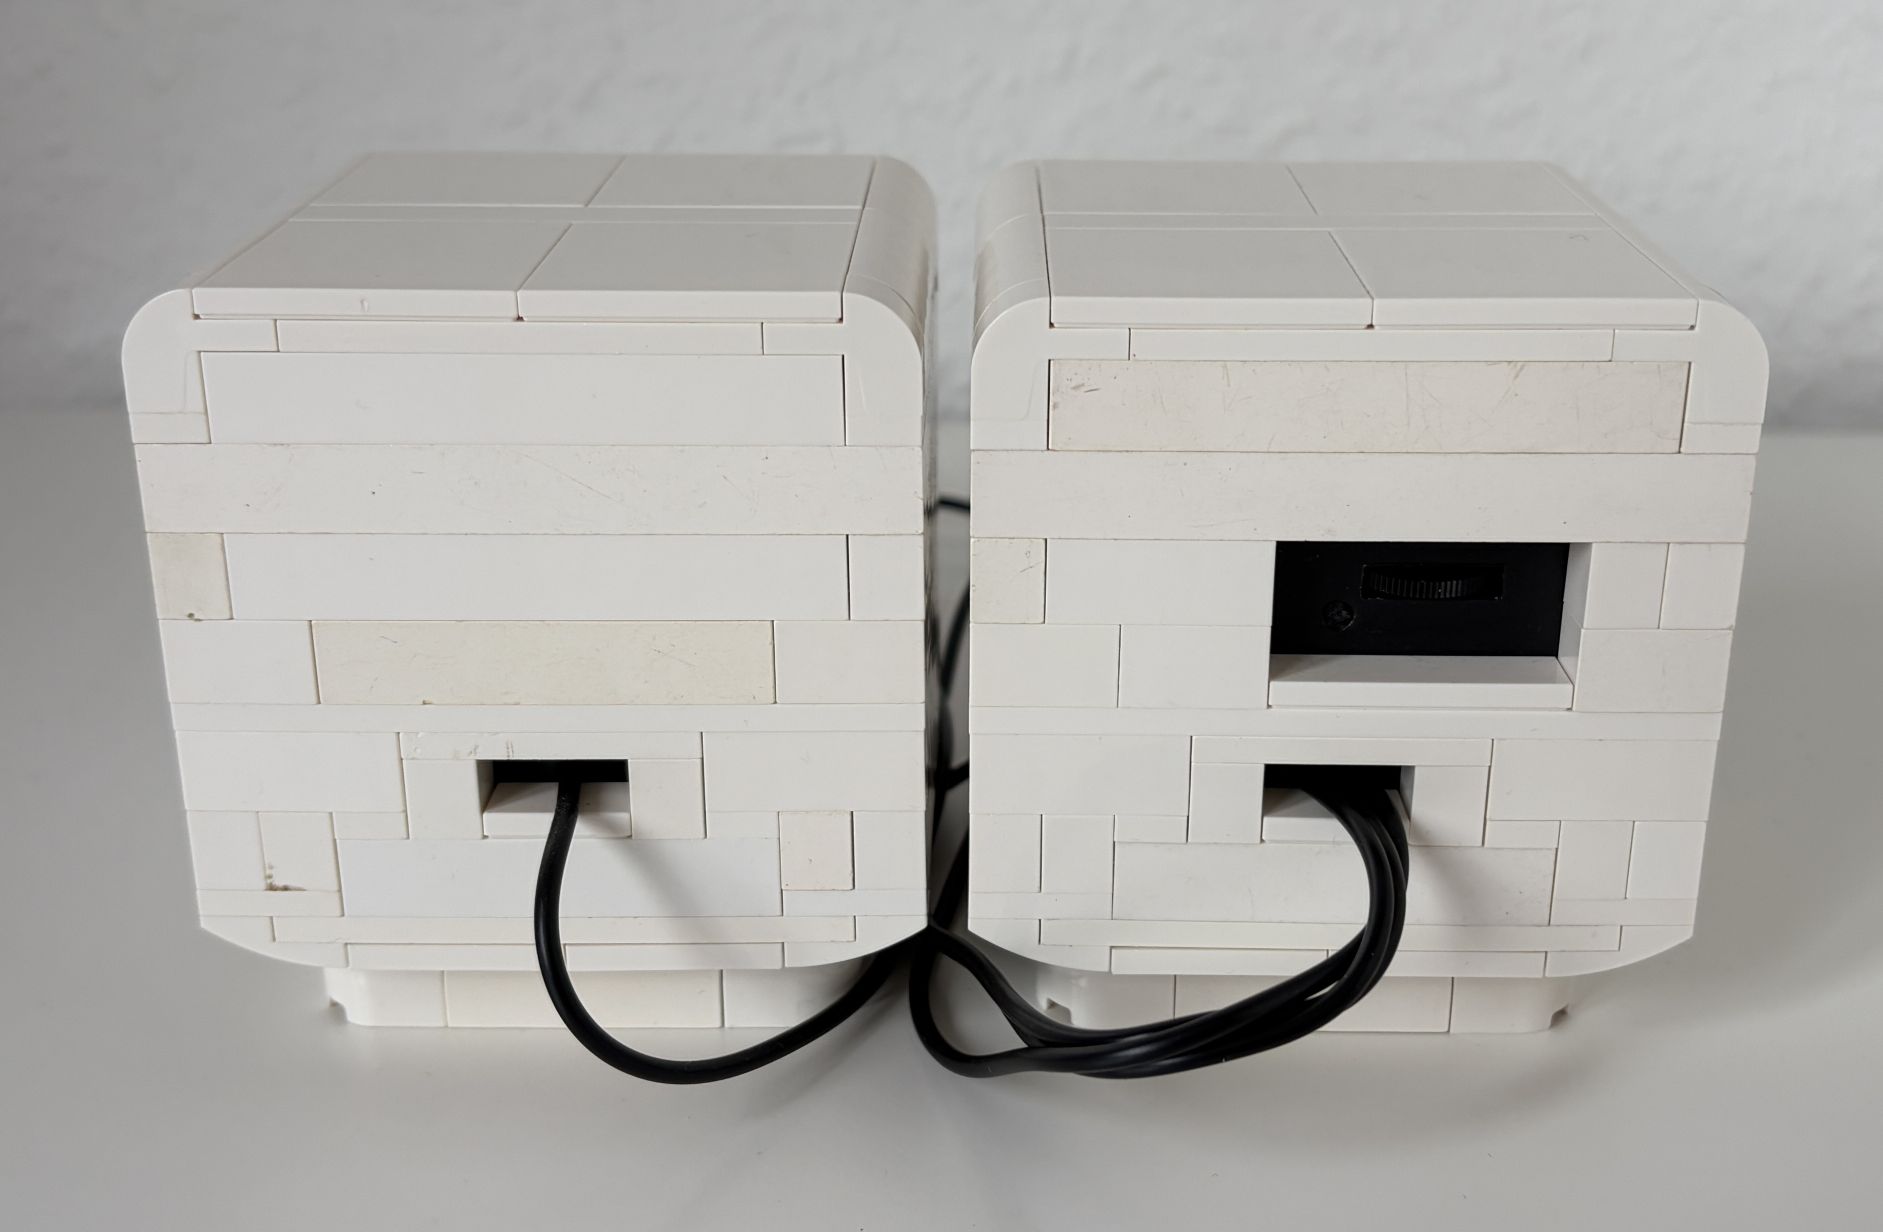
Two custom housings were therefore built from LEGO bricks. With a bit of luck, the purchased speakers fit the available construction almost to the millimetre. Two simple USB speakers thus became matching extensions to the BrickDOS build.

02B

The monitor becomes the computer

One of the first fundamental decisions in the project was where the actual BrickDOS hardware should be installed: inside the PC case or directly inside the monitor.

The more technically authentic approach would have been to install the computer hardware inside the PC case and send the video signal to the monitor via cable. At the same time, this would have made the build considerably more complex. Additional cabling, limited space and several unresolved design issues would have increased the effort significantly.

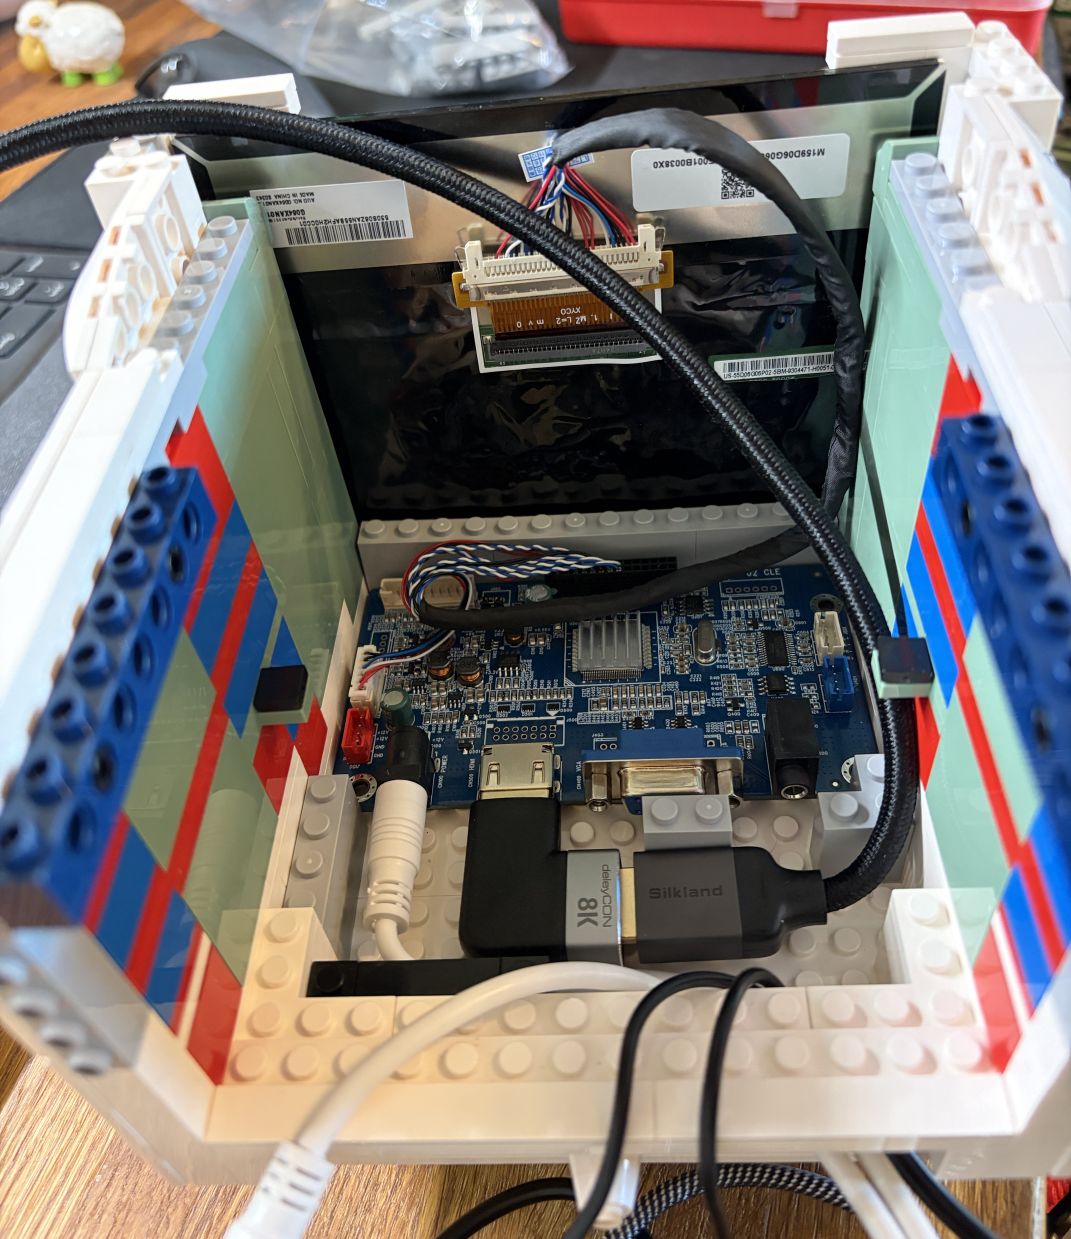
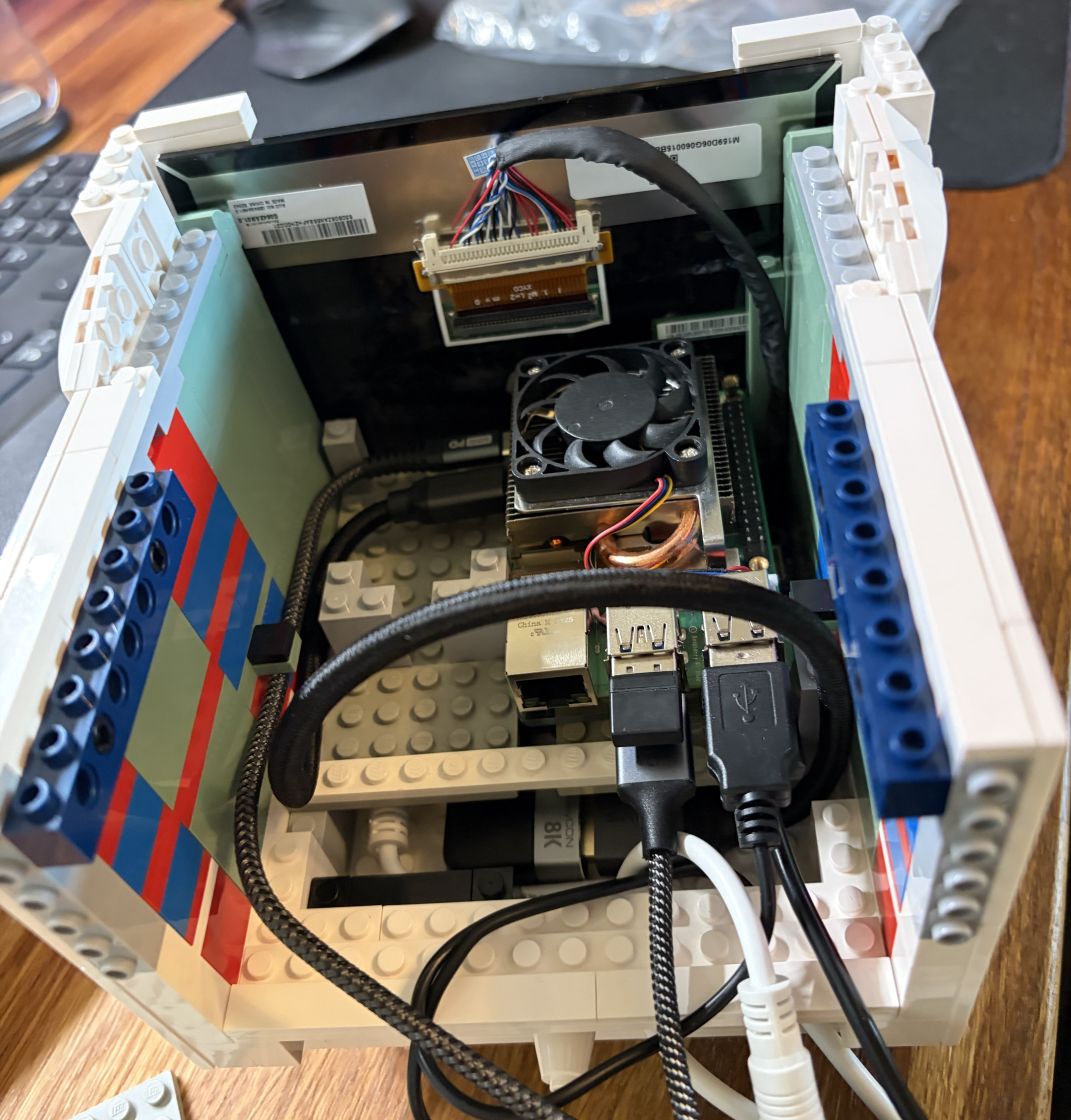
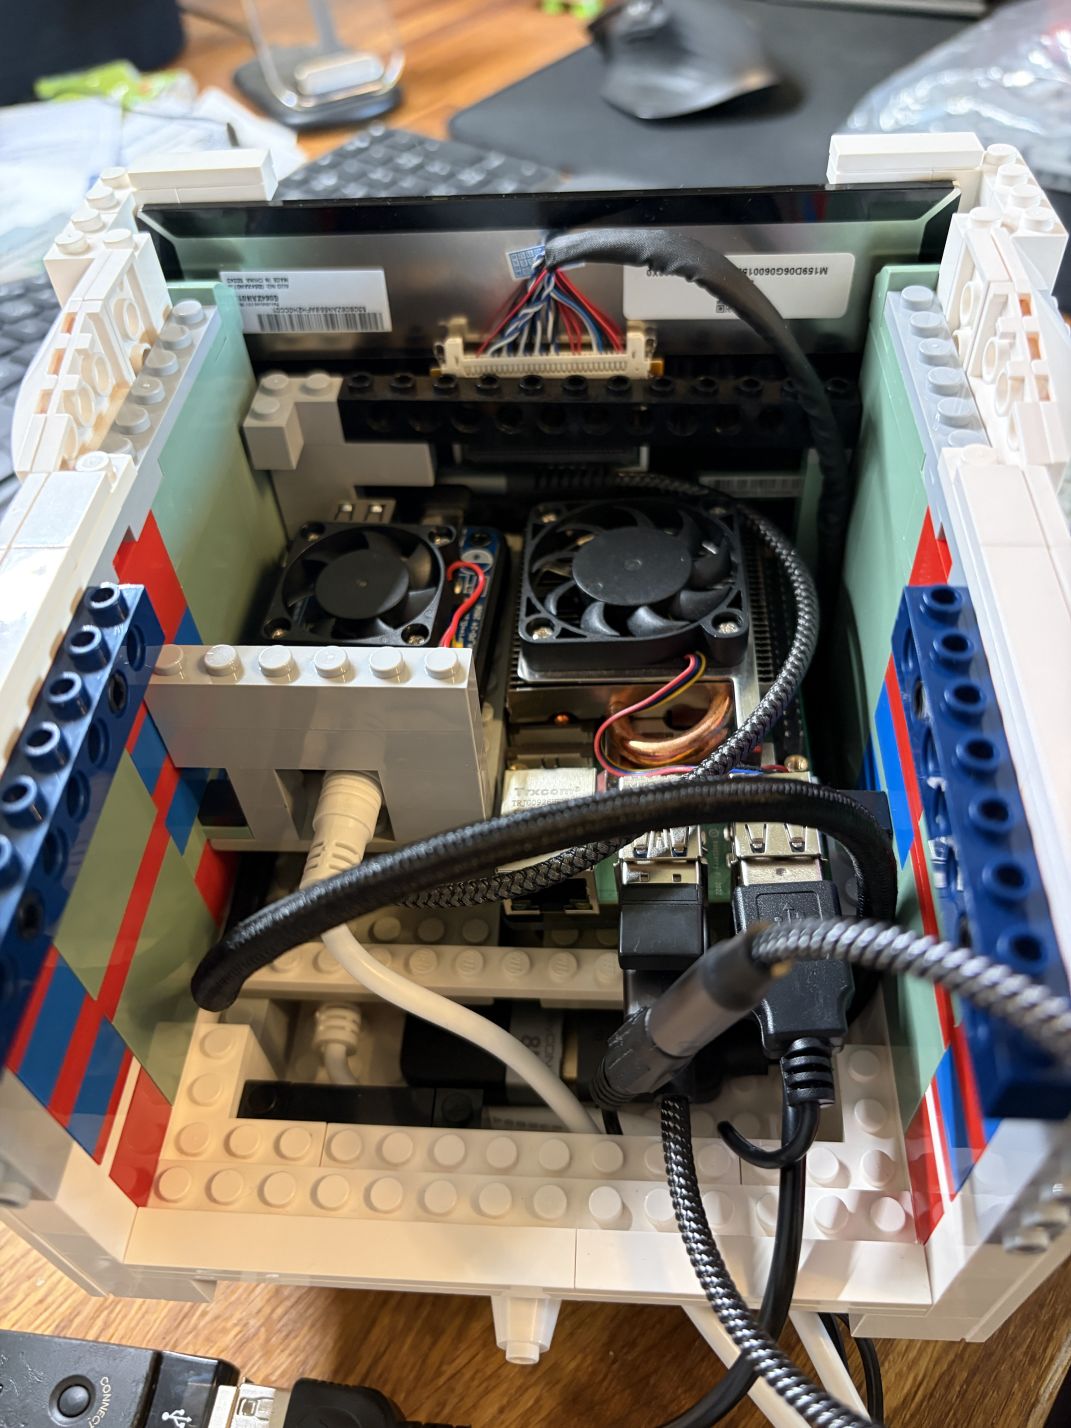
The monitor, however, offered one decisive advantage: after removing the original mechanism used for the interchangeable screen images, there was a surprising amount of space available inside. It quickly became clear that almost all of the hardware could be hidden there.

After a lengthy search, two suitable displays were finally found whose dimensions almost exactly matched the opening that originally held the printed screen cards. During the later assembly, another lucky coincidence appeared: the display controller board also fit the existing case almost to the millimetre.

The internal layout was then built up step by step. First the display and controller board were positioned, followed by the Raspberry Pi and power supply. Every bracket and mounting point was built from LEGO using whatever bricks and parts were available at home.

02 / 04
03

COMPARISON

Before / After

BEFORE
Pantasy 85005 in its original condition before the BrickDOS conversion
The original build as a purely decorative display model.
AFTER
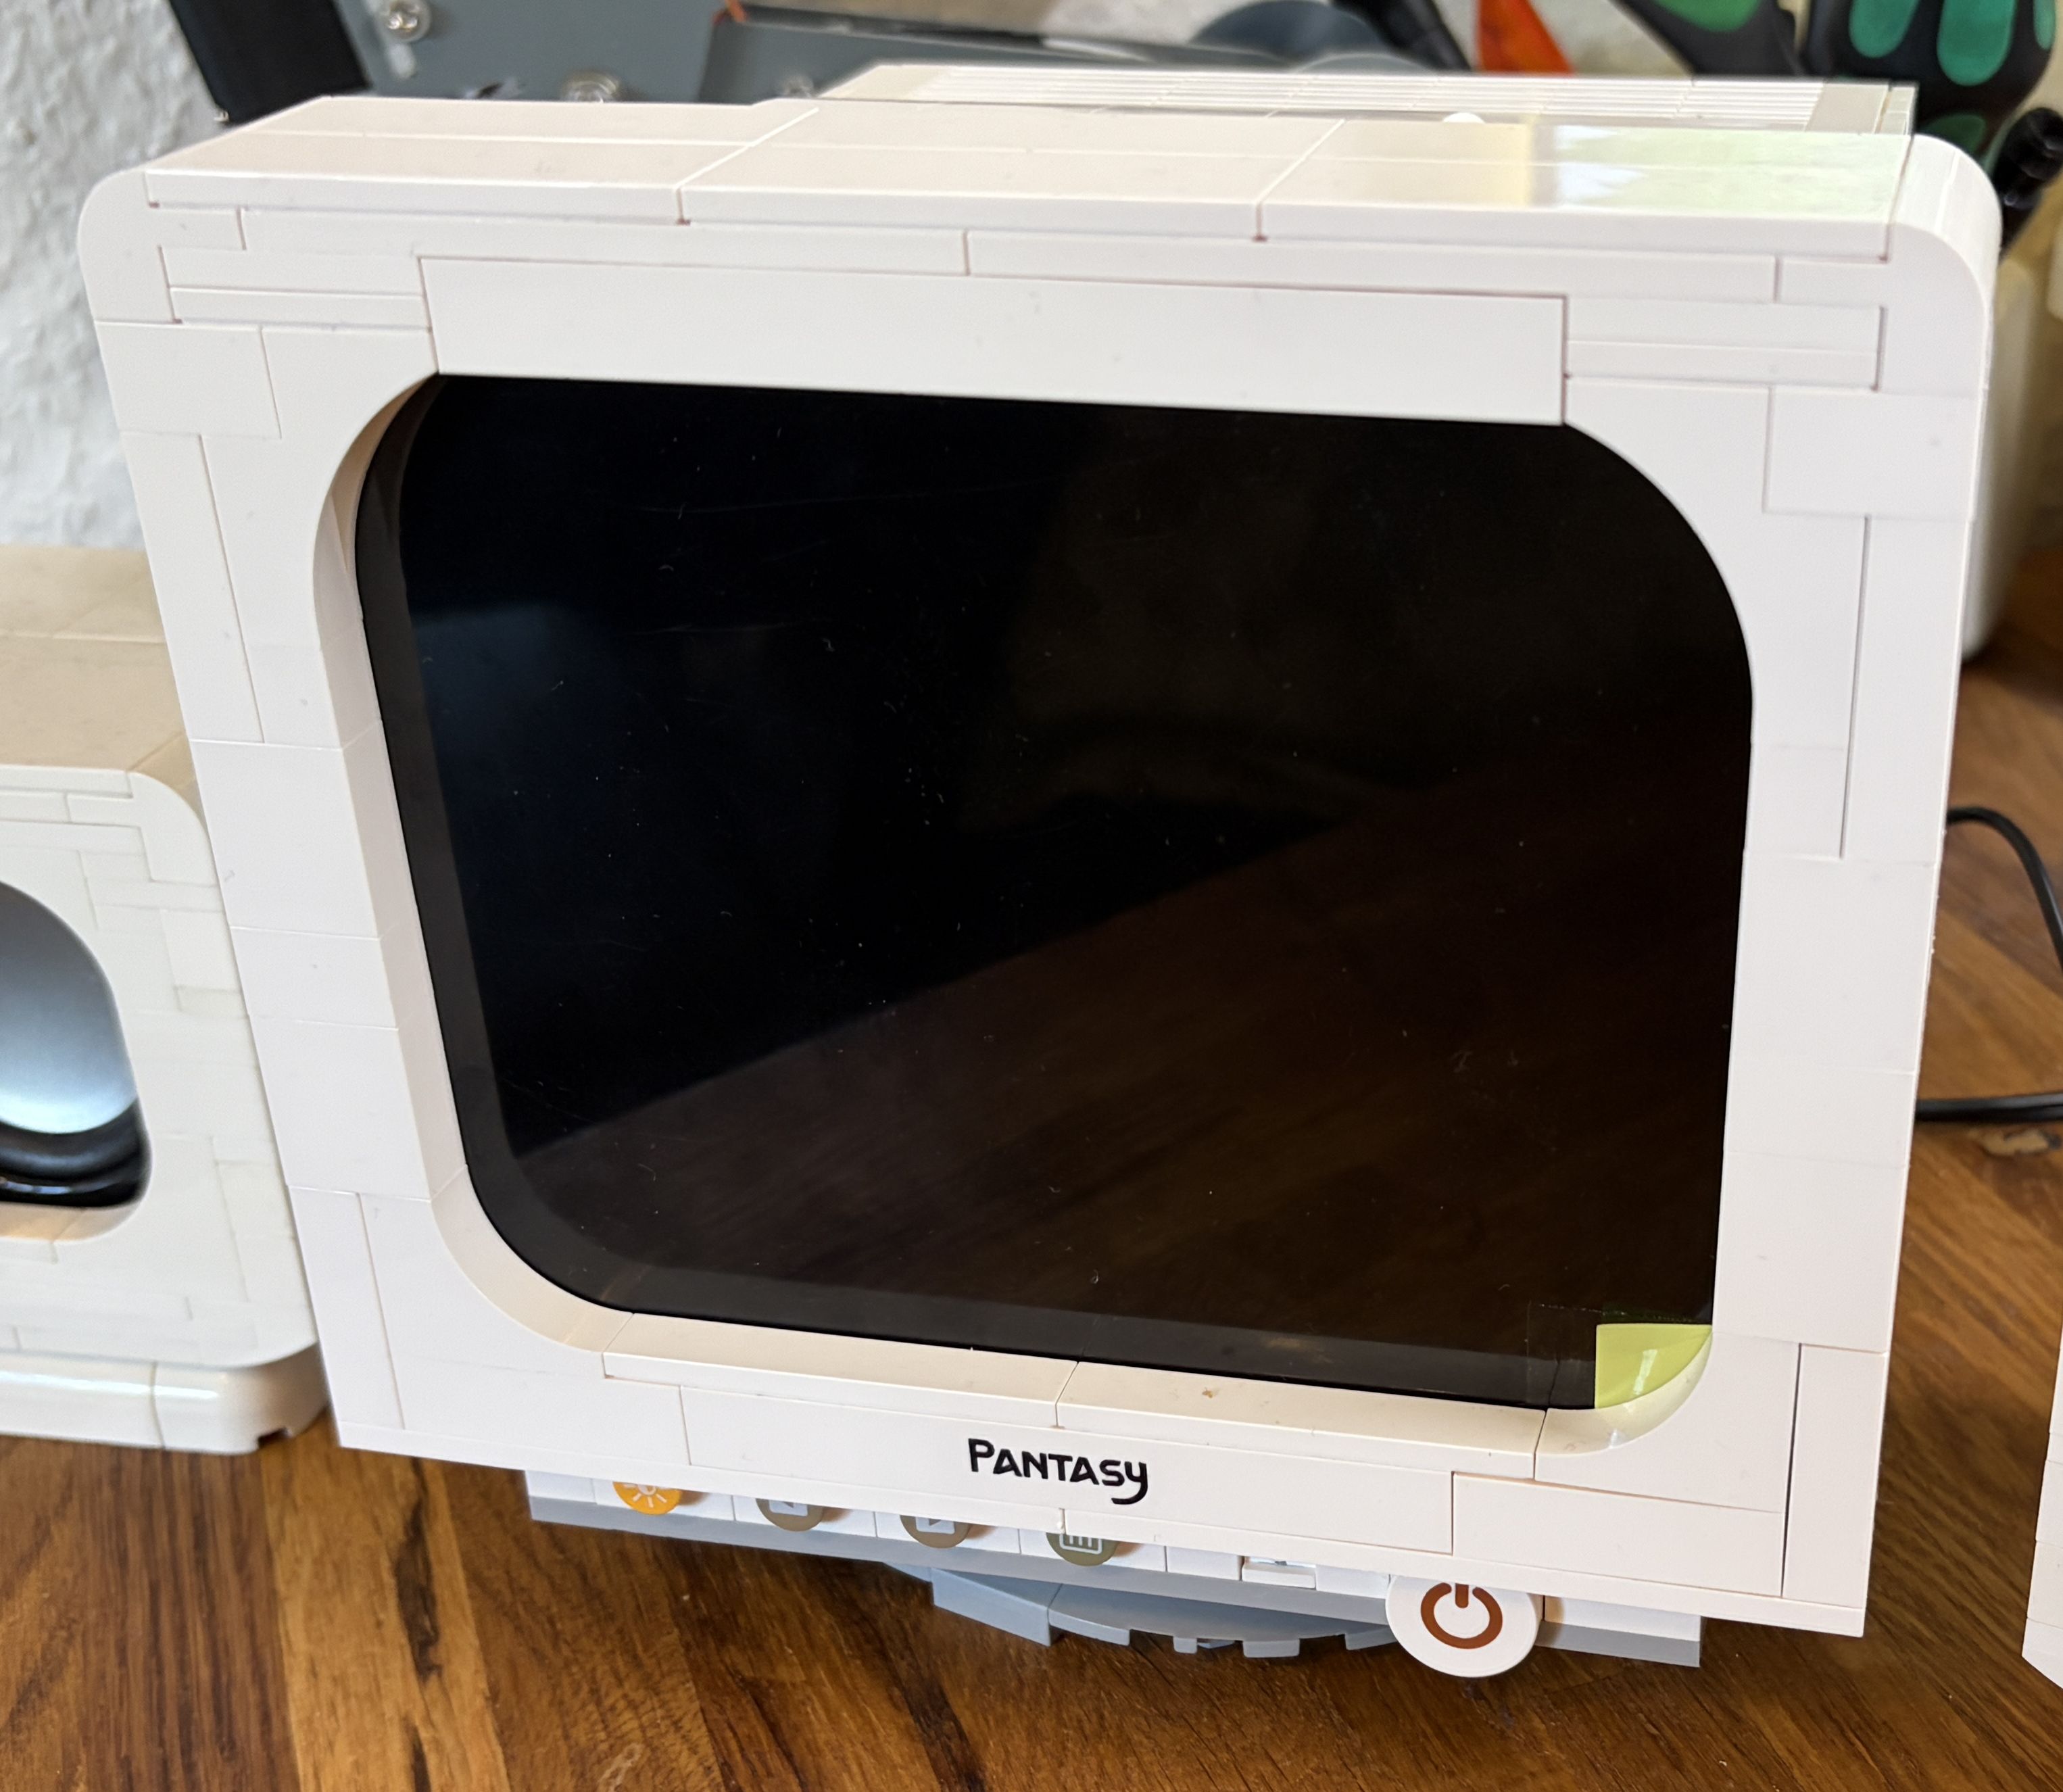
BrickDOS nach dem vollständigen Umbau zum funktionierenden Retro-PC
BrickDOS with a real display, computer hardware and a fully functional retro system.
03 / 04
04

LESSONS LEARNED

Findings and improvements

01

Display

One of the biggest challenges was finding a suitable display for the existing monitor in the first place. The goal was to alter the original construction as little as possible, which meant the dimensional requirements were extremely tight.

That made the final result all the more satisfying: the selected display fits the existing opening almost perfectly not only in width, but also in height. As a result, there are virtually no additional borders and no important areas of the image are hidden.

This also shows how well Pantasy proportioned the original monitor: once the width matches, a 4:3 display also fits the available height remarkably well.

02

Fit and tolerances

Being able to integrate a suitable display into the monitor with almost no visible modification was a major stroke of luck and is a key reason why the finished system could retain the appearance of the original model.

The internal build produced a surprising number of similarly good fits. In particular, the controller board, but also the Raspberry Pi, power supply and other components could be positioned and secured very precisely between LEGO bricks.

The additional USB speakers were another fortunate case: they fit their custom LEGO housings with virtually no play. Many of these details could hardly be planned in advance, yet they contribute significantly to how clean the final build looks.

03

Cabling

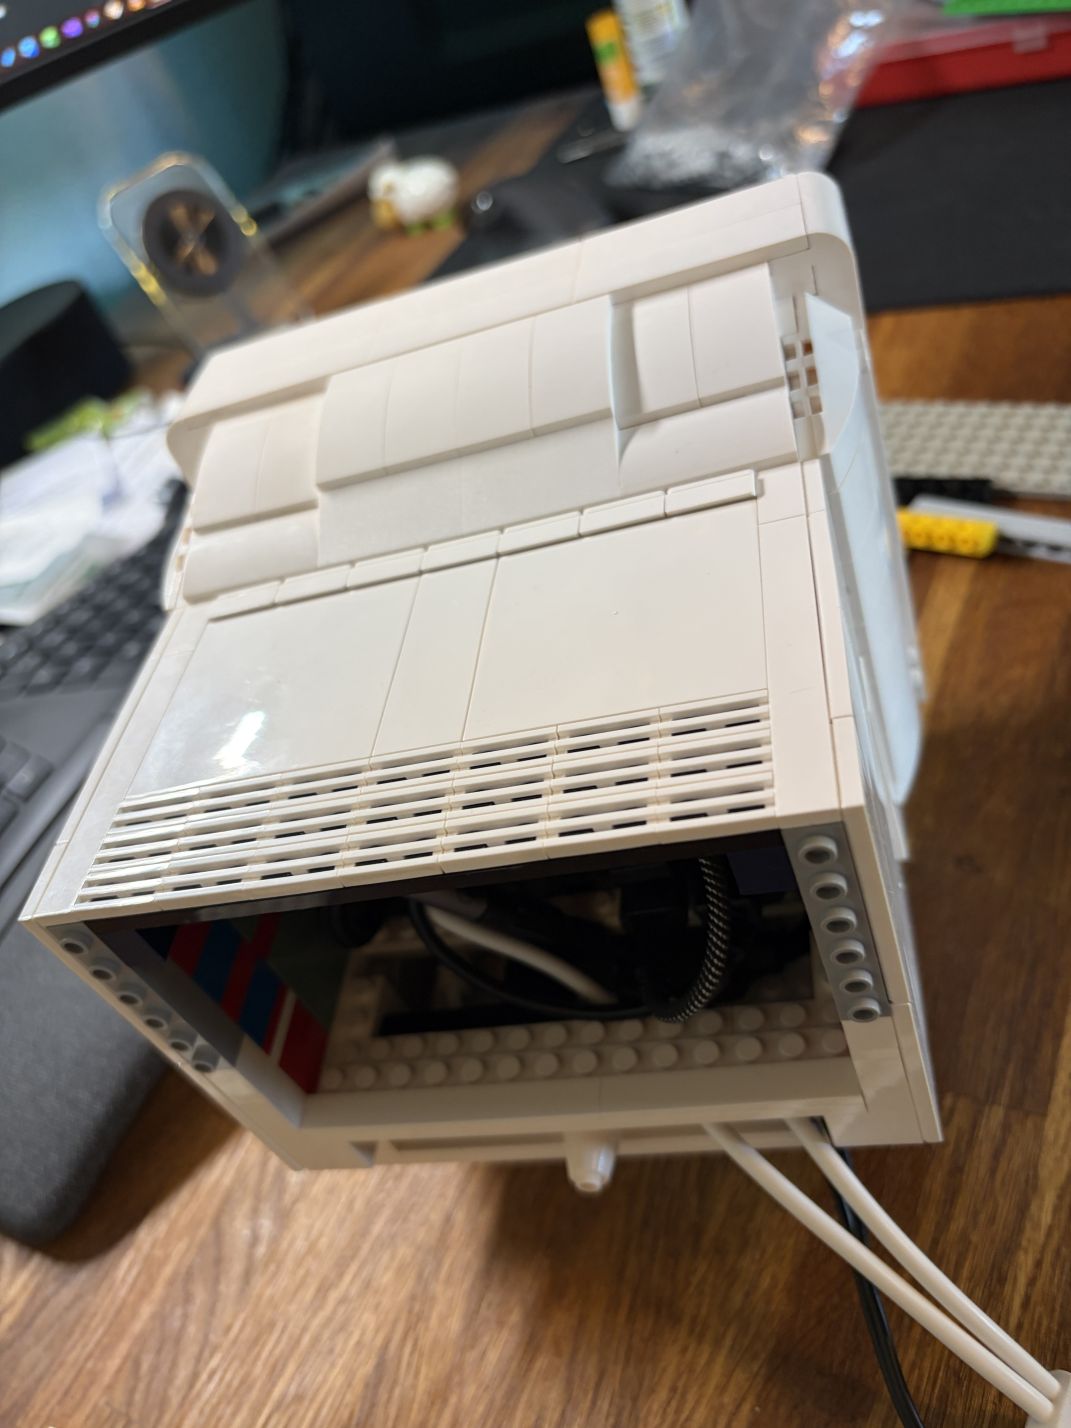
The number of cables leaving the monitor was reduced to the necessary minimum: the power supply and the cables to the two speakers. This keeps the exterior relatively tidy while also matching the appearance of a real computer from that era.

The cable pass-through is not yet entirely satisfactory, however. Several bricks had to be removed, leaving a simple rectangular opening in the case for now.

A purpose-built pass-through – ideally with a fixed socket or suitable connector – would therefore be one of the most worthwhile future improvements.

04

Speakers

The speaker housings were first designed entirely digitally using BrickLink Studio The software not only allows LEGO models to be designed virtually, but can also generate building instructions directly from them.

The resulting parts lists can then be exported and used as the basis for sourcing the required pieces. Suitable marketplaces and shops include BrickLink, BrickOwl oder Wobrick. BrickLink and BrickOwl are marketplaces for individual LEGO parts and sets, while Wobrick also offers bricks for custom MOC projects.

Several more custom designs have been created since then. One lesson has proven surprisingly consistent: no matter how carefully a model is planned on the computer and how thoroughly the parts list is checked, something is almost always missing after the first physical build or a small change becomes necessary. A second parts order has therefore become almost a normal part of the development process.
C:\BRICKDOS> HARDWARE.EXE
04 / 04